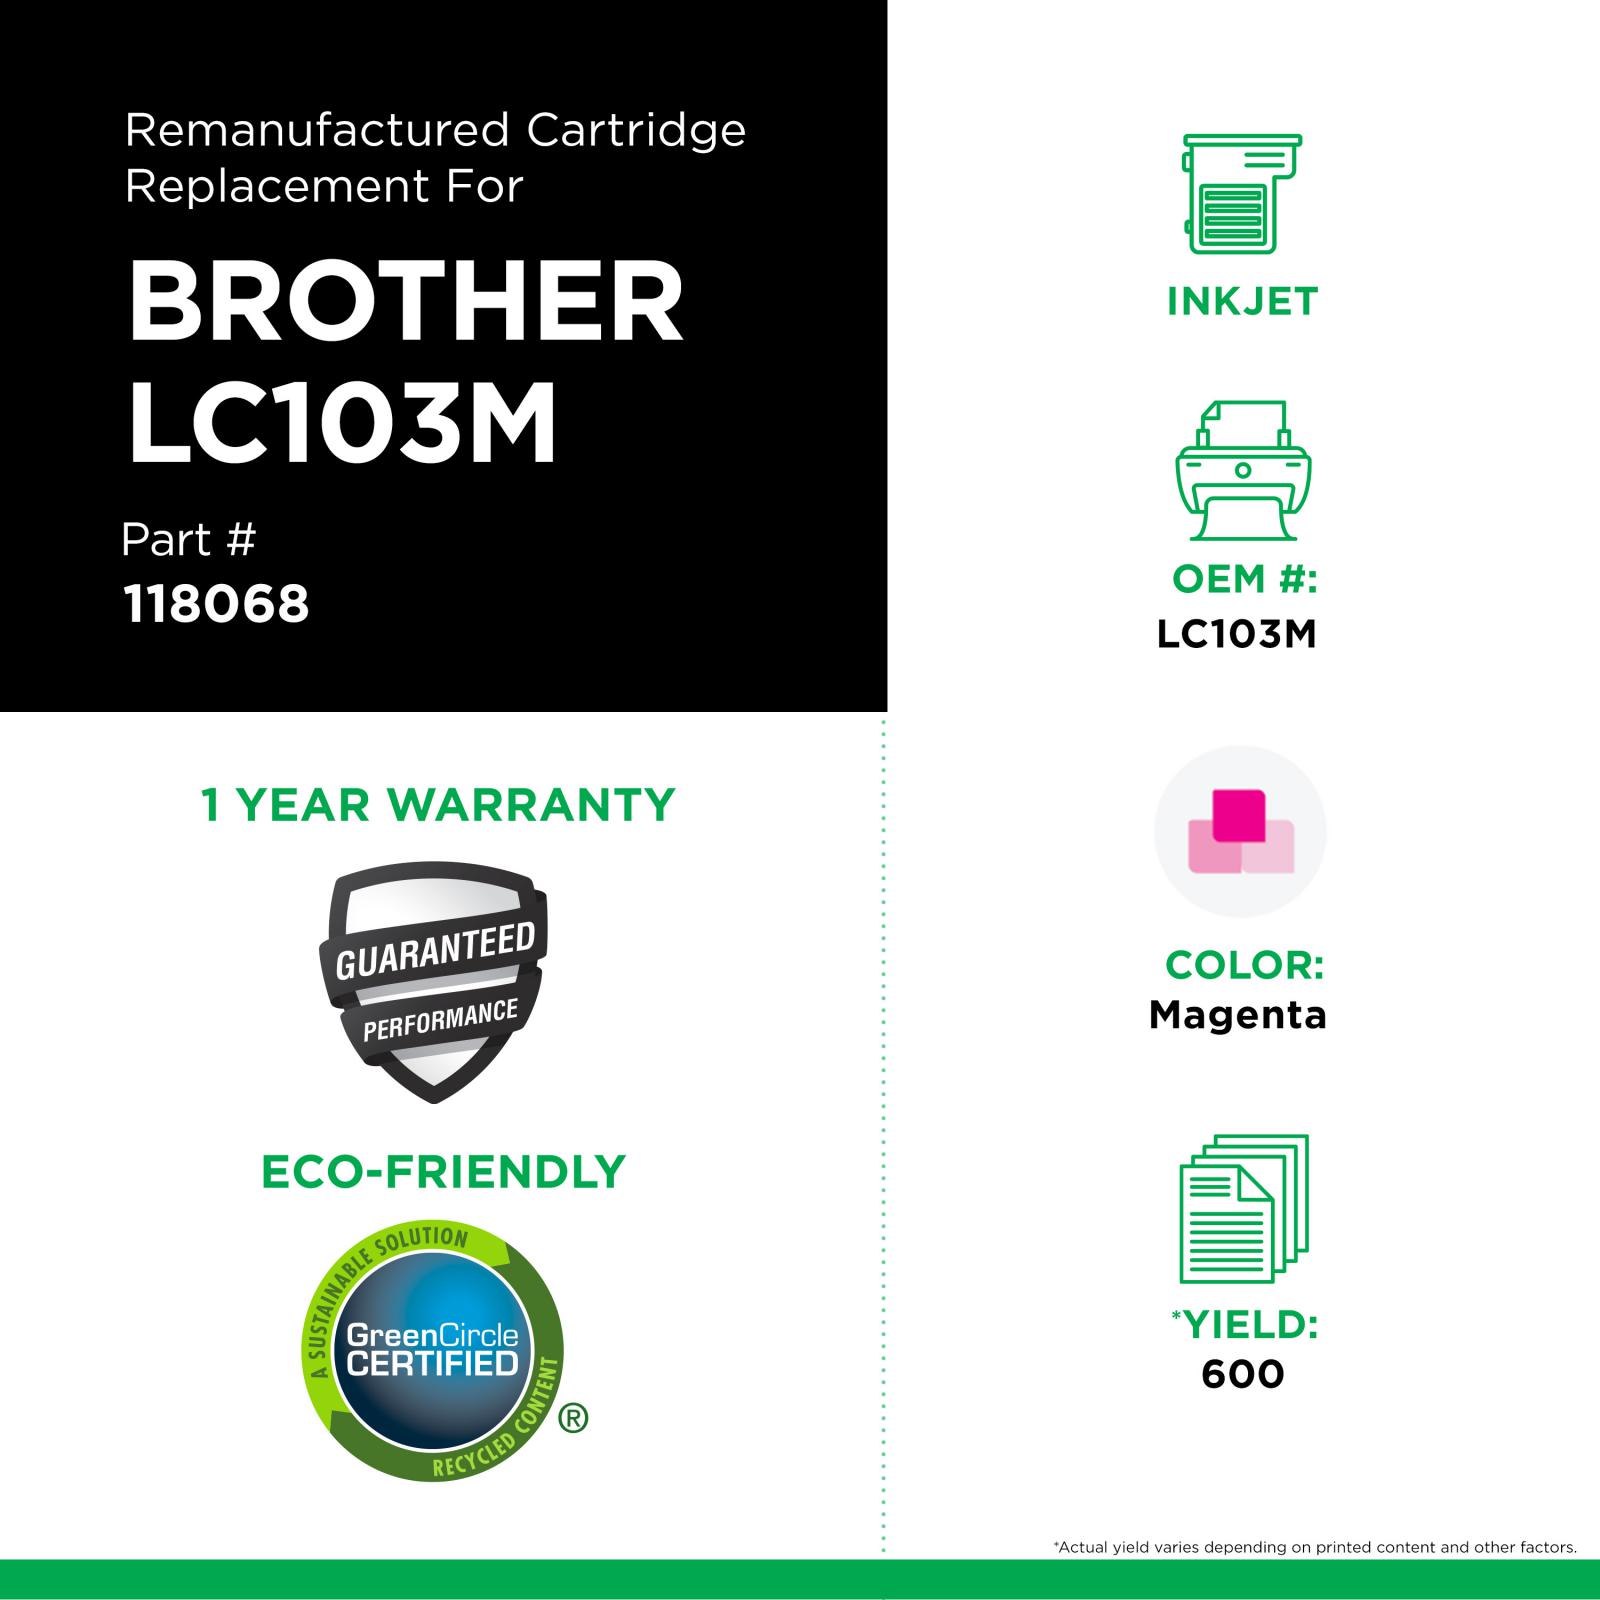
Clover Imaging Remanufactured High Yield Magenta Ink Cartridge for Brother LC103XL
- 118068
- Inkjet
- Brother - LC103XL
Brother - LC103M
- View cross compatible OEM numbers
- Magenta
- 600 Pages *
- High Yield


If you receive an error message stating that the “alignment failed” or that the ”alignment could not be completed”, this may indicate that the printer is not properly recognizing the cartridge.
Remove the cartridge from your printer, and locate the chip on the top of the cartridge. Ensure that the chip is intact; and if so, you will want to clean the chip from any obstruction or debris as this may be preventing the alignment from completing.
Using a lint free cloth (such as a coffee filter), gently wipe the chip to remove any obstruction or debris.
Slowly reinstall the cartridge and attempt the alignment process again.
If the error continues, it may be necessary to perform a cleaning cycle to improve the quality of the print and allow the alignment process to be completed. Every printer is different so please consult your printer’s user manual for instructions on performing a cleaning cycle on your printer.
If you are not able to perform a cleaning cycle or if the alignment fails even after performing a cleaning cycle, please ensure that the scanner glass is clean and free from fingerprints or debris (this applies to certain models only).
If these steps do not allow the printer to align the cartridge(s), you will need to return the cartridge(s) to the place of purchase.
If your printer gives you an error message stating that the cartridge cannot be detected or has blinking lights, there may be a simple solution to fix this.
If you have just installed a remanufactured cartridge and the ink levels display as low or empty, there may be a solution for this problem.
Remove the cartridge or cartridges displaying a low ink level from your printer. Locate the chip on the top of the cartridge.
You may need to clean the chip from any obstruction or debris.
To do so, you may use a pencil eraser. Gently brush the chip with the eraser to remove any potential obstruction or debris.
Or you may use any type of lint free cloth such as a coffee filter. Gently wipe the chip with the cloth, again removing any type of obstruction or debris.
Once this is complete, replace the cartridge in the cradle and follow any on-screen prompts.
If a low or empty ink level still shows, remove the cartridge from your printer and close the cover, turn the machine off and disconnect the power supply for 2 minutes.
When 2 minutes have passed, turn your printer back on and reinstall the cartridge when prompted.
If the error persists, you should return your cartridge to the place of purchase.
In the event your cartridge does not appear to fit into the machine, please look at the print port on the cartridge. Some inkjets may have a protective covering that will need to be punctured upon insertion into your printer, as indicated in the image below. 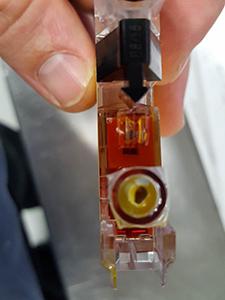
The puncturing of this material will allow for the cartridge to be seated into the space properly. If your cartridge does not contain this material, please just ensure you are inserting the cartridge into the correct slot and hear it click into place.
If your printer gives you an error message stating that the cartridge cannot be detected or has blinking lights, there may be a simple solution to fix this.
If you have printed a document and are unsatisfied with the print quality, please ensure that there are no low or empty ink warnings on your printer or computer screen.
If a warning is present, you will need to replace your inkjet cartridge.
If no warning is displayed, you may need to run a cleaning cycle in order to improve the quality of your print.
To perform a cleaning cycle using your printer's touch screen, please do the following:
(If your printer does not have a touch screen, please consult your printer's user manual for instructions on how to perform a cleaning cycle.)
If you receive an error message stating that the “alignment failed” or that the ”alignment could not be completed”, this may indicate that the printer is not properly recognizing the cartridge.
Remove the cartridge from your printer, and locate the chip on the top of the cartridge. Ensure that the chip is intact; and if so, you will want to clean the chip from any obstruction or debris as this may be preventing the alignment from completing.
Using a lint free cloth (such as a coffee filter), gently wipe the chip to remove any obstruction or debris.
Slowly reinstall the cartridge and attempt the alignment process again.
If the error continues, it may be necessary to perform a cleaning cycle to improve the quality of the print and allow the alignment process to be completed. Every printer is different so please consult your printer’s user manual for instructions on performing a cleaning cycle on your printer.
If you are not able to perform a cleaning cycle or if the alignment fails even after performing a cleaning cycle, please ensure that the scanner glass is clean and free from fingerprints or debris (this applies to certain models only).
If these steps do not allow the printer to align the cartridge(s), you will need to return the cartridge(s) to the place of purchase.
If your printer gives you an error message stating that the cartridge cannot be detected or has blinking lights, there may be a simple solution to fix this.
If you have just installed a remanufactured cartridge and the ink levels display as low or empty, there may be a solution for this problem.
Remove the cartridge or cartridges displaying a low ink level from your printer. Locate the chip on the top of the cartridge.
You may need to clean the chip from any obstruction or debris.
To do so, you may use a pencil eraser. Gently brush the chip with the eraser to remove any potential obstruction or debris.
Or you may use any type of lint free cloth such as a coffee filter. Gently wipe the chip with the cloth, again removing any type of obstruction or debris.
Once this is complete, replace the cartridge in the cradle and follow any on-screen prompts.
If a low or empty ink level still shows, remove the cartridge from your printer and close the cover, turn the machine off and disconnect the power supply for 2 minutes.
When 2 minutes have passed, turn your printer back on and reinstall the cartridge when prompted.
If the error persists, you should return your cartridge to the place of purchase.
In the event your cartridge does not appear to fit into the machine, please look at the print port on the cartridge. Some inkjets may have a protective covering that will need to be punctured upon insertion into your printer, as indicated in the image below.
The puncturing of this material will allow for the cartridge to be seated into the space properly. If your cartridge does not contain this material, please just ensure you are inserting the cartridge into the correct slot and hear it click into place.
If your printer gives you an error message stating that the cartridge cannot be detected or has blinking lights, there may be a simple solution to fix this.
If you have printed a document and are unsatisfied with the print quality, please ensure that there are no low or empty ink warnings on your printer or computer screen.
If a warning is present, you will need to replace your inkjet cartridge.
If no warning is displayed, you may need to run a cleaning cycle in order to improve the quality of your print.
To perform a cleaning cycle using your printer's touch screen, please do the following:
(If your printer does not have a touch screen, please consult your printer's user manual for instructions on how to perform a cleaning cycle.)
* Page yield based on 5% page coverage prints.
 Yield increase

 Clover Imaging extended yield remanufactured printer cartridges are designed, engineered, and manufactured to offer superior quality and performance, while surpassing the OEM’s highest page yields. Extended yield cartridges guarantee higher yields and lower cost-per-page without sacrificing density or print quality. Clover Imaging’s extended yield remanufactured printer cartridges are highly sustainable and have been GreenCircle certified as closed-loop products that contain at least 86% recycled content. For businesses looking for high-quality, sustainable printing at an affordable price, the choice is clear. |
Recycled Content Certified
 GreenCircle is an independent, third-party ecolabel that recognizes an organization’s commitment to reuse materials to support a circular economy and reduce their reliance on virgin materials. Clover Imaging Group remanufactured toner cartridges are GreenCircle-certified to contain 86% recycled content and inkjet cartridges are certified at 99%. |
Low-Emissions Toner
 Low-emission toners used by Clover Imaging Group have been pre-approved by Nordic Ecolabelling for use in Nordic Swan Ecolabel-certified remanufactured printer cartridges. These toners are specially formulated to ensure that applicable Nordic Swan Ecolabel requirements are met, including criteria placing strict limits on volatile organic compound emissions and prohibiting the presence of certain pollutants and other harmful substances. |

2022 Aspire Sustainability Comparative LCA, commissioned by Clover Imaging Group.
Information
Information
Information
 INFORMATION
|
Are you sure you want to logout? |
INFORMATION
|
Press OK to switch region to Clover Imaging Group |
 Multiple choices
This item is available for outright sale or exchange purchase.
Please choose below.
Retrieve account data
Please wait...
 |
Information
|
Thank you for your interest in Clover! Due to the robust functionality on our website, we can only support the most current web browsers. We recommend upgrading your browser to the latest version of Internet Explorer, Google Chrome or Mozilla Firefox. |
 Information
|
Your session will expire in 5 minute(s). |
Information
|
Your session has expired, you are now logged out. |
Error retrieving data
| Provided email was not found. Please register. |
| Email is not valid. |
 Thank you
| Password retrieval email has been sent. Please follow instructions in the email to change your password. |
Video
Video
Video
Video
Video
Web Tutorial
 Upload logo
Shipping Information ()
INFORMATION
Your document is being created. Please wait until the download initiates. |
Terms and Conditions
 Add new Ship-To address
How it works?
Add new Ship-To address
How it works?
Click the blue button "Create New User"
Fill out the form fields for your new user. Select which permissions your new user should have and assign a username and password. Click Save. You will receive an e-mail confirming the new user has been set up successfully. Follow this procedure to set up each new user.
After you have created a new user, the new user will receive an automated email with their new user name and password. They will be given instructions on how to change their password if they would like to choose their own. However, as an administrator, you will always have access to delete/edit users, view their profile information (including their password) and change their permissions.
If you need to edit a user, there are links beside each user to edit or delete the user’s profile.
If you delete a user, the user will now appear on the Deleted Users Page and you can Re-Activate at any time if you need to do so.
Clover Video
Information
Upload Terms and Conditions
Upload Customer Logo
Warning
|
Please note that this is a bid item that's part of the Silver Bullet program. Make sure that you have been approved to ship Silver Bullet items to this customer prior to placing an order. If this customer has not been approved, the order will be cancelled. Thank you. |
Warning
|
Please note that at least one of selected items is a bid item that's part of the Silver Bullet program. Make sure that you have been approved to ship Silver Bullet items to this customer prior to placing an order. If this customer has not been approved, the order will be cancelled. Thank you. |
Warning
Email
PROMOTION DETAILS


